In this tutorial we show how you can run Play and live develop Play framework based app with our Tomcat hosting package. Play will use embedded Netty server in this case. We also show the other approach when you develop locally and only push new versions of your web application in WAR format to our server where it is automatically deployed by Tomcat.
Play Framework is a popular Java and Scala framework that comes with the following features:
- lightweight, stateless, web-friendly architecture
- predictable and minimal resource consumption for highly-scalable applications (thanks to being built on Akka)
- developer friendly workflow: make your changes with an editor and hit refresh
- other characteristcs include RESTful, JSON, Websockets, NoSQL, non-blocking I/O, asynchronous model, type safe, testing tools, build tools, console, IDE support
It allows for similar development style as PHP/Perl/Python as your code changes transmit instantly to your website - they call it Hit Refresh Workflow.
Netty is used as webserver that provides better throughput, lower latency, less resource consumption, lower memory footprint comparing to typical webservers used with Java apps. Netty implements event model and supports threading, SSL, blocking and non-blocking sockets, datagram sockets.
First Play 2.3.x application crash course
Since Play 2.3 play command has been renamed to activator. For older Play framework setups refer the next sections.
The installation is as simple as downloading and unzipping the activator in your home directory then adding the 2 lines to your environment (~/.bashrc) for maximum convenience.
wget http://downloads.typesafe.com/typesafe-activator/1.2.10/typesafe-activator-1.2.10.zip
# wget http://downloads.typesafe.com/typesafe-activator/1.2.10/typesafe-activator-1.2.10-minimal.zip
unzip typesafe-activator-1.2.10.zip
ln -s activator-1.2.10 activator
sed -i "1i\
export PATH=\$PATH:~/activator\\
alias activator='activator -Dhttp.port=11111'" ~/.bashrc
Note: replace port number 11111 with your HTTP port as shown in cPanel - Java Control Panel. If on VPS, you may skip the alias line altogether as default ports can be used there.
Update (reread) your environment:
. ~/.bashrcNow the application building commands:
activator new my-first-app play-java
cd my-first-app
Then for development mode use
activator run For production mode use
activator startAccess the website (proxied to your Play/Netty HTTP port) at http://username.jvmhost.net/.
Make an example change to the code
sed -i 's/Your new application is ready./Welcome to Play 2.3.4/' app/controllers/Application.javaAccess the website again. Your modification should be visible right then.
You can stop Play HTTP server with Ctrl+D if it was started in development mode (in foreground). If it was started with activator start then use Ctrl+D to disconnect from log output and leave it running in the background. To stop the backgrund process run pkill -9 java.
Note: do not forget to Stop Tomcat in Java Control Panel or with jk shell command to avoid conflict with Play (both would try to use the same HTTP port).
Run Play on remote host for live development
Login to Java Control Panel, stop Tomcat if it is running and check HTTP port number in Ports section. You will use the port with Play instead of the default port 9000 that is fine on dedicated server, VPS server or shared server with dedciated IP but in this example we use shared server with shared IP (default setup). Let’s assume the port is 10951 for our example. Do not worry, you will still be able to access your app without specifying port number in browser address bar thanks to the frontend proxy that can be enabled in Java Control Panel. Download Play framework to you home directory and unpack it:
[~]# wget http://downloads.typesafe.com/play/2.2.0/play-2.2.0.zip
[~]# unzip play-2.2.0.zip
The framework unpacked into ~/play-2.2.0 directory. play is the key command that can launch console or be executed with parameters (e.g. play "run 8080").
Add Play directory to the PATH variable and set play alias that includes the HTTP port in ~/.bashrc and reread the file so that you do not have to type full path and port anymore:
[~]# sed -i "1i\
export PATH=\$PATH:~/play-2.2.0\\
alias play='play -Dhttp.port=10951'" ~/.bashrc
[~]# source ~/.bashrc
If you skip the alias then you would need to specify port on command line for example:
[~/play_java]# play "run 10951"
[~/play_java]# play "start 10951"
[~/play_java]# play -Dhttp.port=10951 start
Netty can be stopped with Ctrl+D (if started with run), kill `cat RUNNING_PID` issued from application directory or jk command.
Note: if characters you type do not display in shell command line after you quit Play then run reset.
Building Java and Scala applications
Now when the environment is configured let’s build a Java app.
[~]# play new play_java
Getting com.typesafe.play console_2.10 2.2.0 ...
:: retrieving :: org.scala-sbt#boot-app
 confs: [default]
 6 artifacts copied, 0 already retrieved (2012kB/22ms)
Getting Scala 2.10.2 (for console)...
:: retrieving :: org.scala-sbt#boot-scala
 confs: [default]
 5 artifacts copied, 0 already retrieved (24390kB/45ms)
play 2.2.0 built with Scala 2.10.2 (running Java 1.6.0_45), http://www.playframework.com
The new application will be created in /home/user/play_java
What is the application name? [play_java]
>
Which template do you want to use for this new application?
 1 - Create a simple Scala application
 2 - Create a simple Java application
> 2
OK, application play_java is created.
Have fun!
The command created new application in ~/play_java directory and a few subdirectories:
- app with applications core, models, views and controllers. Our *.java source files will stay there.
- conf’ - as the name suggests - keeps applications configuration files, including application.conf, internationalization related files and routes definitions.
- project holds scripts used for building apps. Building system uses sbt (Scala Build Tool). A default build script is generated for each new application.
- public is a directory for all publicly available resources like images, javascript and CSS style sheets.
- test contains JUnit application tests.
Encoding in our our Java hosting environment is UTF-8 so it matches Play requirements.
Let’s enter our app directory and run play. This will start the console. In the console we will run run to start the application in development mode.
[~/play_java]# play
Getting org.scala-sbt sbt 0.13.0 ...
:: retrieving :: org.scala-sbt#boot-app
 confs: [default]
 43 artifacts copied, 0 already retrieved (12440kB/77ms)
[info] Loading project definition from /home/user/play_java/project
[info] Set current project to play_java (in build file:/home/user/play_java/)
play 2.2.0 built with Scala 2.10.2 (running Java 1.6.0_45), http://www.playframework.com

> Type "help play" or "license" for more information.
> Type "exit" or use Ctrl+D to leave this console.

[play_java] $ run
[info] Updating {file:/home/user/play_java/}play_java...
[info] Resolving org.fusesource.jansi#jansi;1.4 ...
[info] Done updating.

Cannot load the JNotify native library (/home/user/play_java/target/native_libraries/64bits/libjnotify.so: /lib64/libc.so.6: version `GLIBC_2.12' not found (required by /home/user/play_java/target/native_libraries/64bits/libjnotify.so))
Play will check file changes for each request, so expect degraded reloading performace.

--- (Running the application from SBT, auto-reloading is enabled) ---
[info] play - Listening for HTTP on /0:0:0:0:0:0:0:0:10951
(Server started, use Ctrl+D to stop and go back to the console...)
You can also provide commands as arguments to play.
[~/play_java]# play run
[info] Loading project definition from /home/user/play_java/project
[info] Set current project to play_java (in build file:/home/user/play_java/)

Cannot load the JNotify native library (/home/user/play_java/target/native_libraries/64bits/libjnotify.so: /lib64/libc.so.6: version `GLIBC_2.12' not found (required by /home/user/play_java/target/native_libraries/64bits/libjnotify.so))
Play will check file changes for each request, so expect degraded reloading performace.

--- (Running the application from SBT, auto-reloading is enabled) ---

[info] play - Listening for HTTP on /0:0:0:0:0:0:0:0:10951
(Server started, use Ctrl+D to stop and go back to the console...)
If you get warning about missing libjnotify then run this script specifying full path to your application directory as the only argument. Also see below on how libjnotify can be rebuilt to match your system’s GLIBC version.
[~]# update_play_libjnotify.so.sh $HOME/play_javaNormally when informing Java about a native library you would set -Djava.library.path or export LD_LIBRARY_PATH= but Play specific location for this library is PLAY_APP_DIRECTORY/target/native_libraries/64bits (for 64bit systems) and it can find the library there.
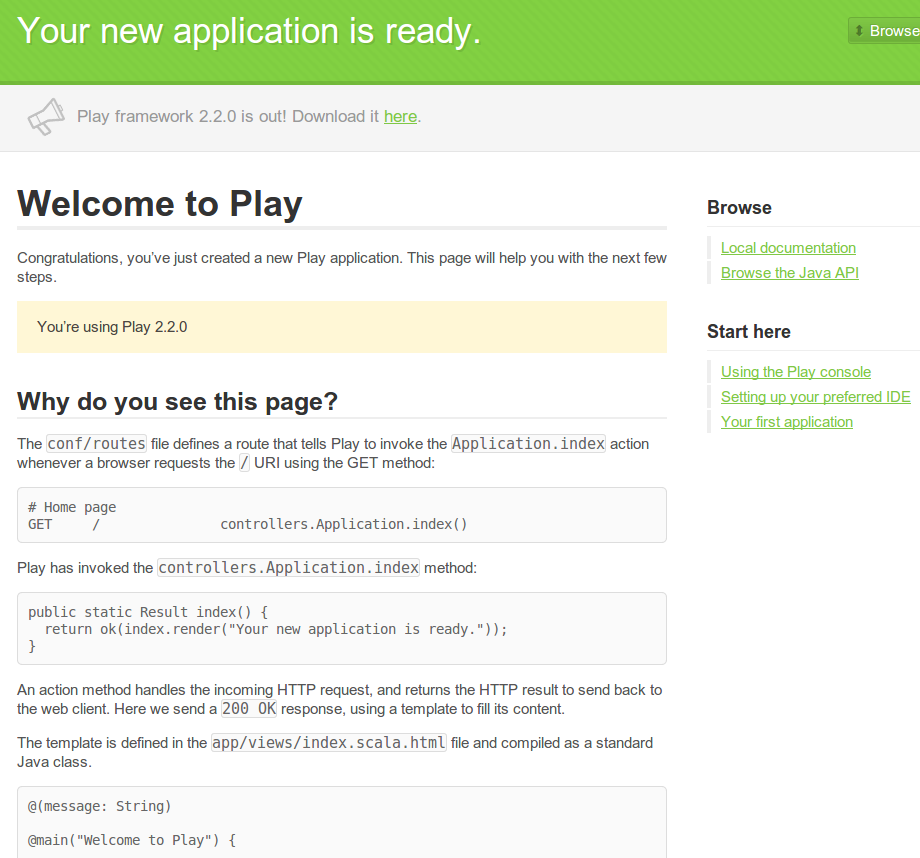
Starting Play with play start will start Play and direct logs (also found in logs/application.log) to console. Type Control+D to end the redirection and return to command line. Play will continue to run in the background. It will start in production mode when bounced with play start.
Starting it with play run will start Netty server in foreground - you can stop it with Ctrl+D. It will start in development mode. See screenshot below. The page displayed in development mode will contain instructions on how to begin extending the app including database connections. Here goes screenshot of the welcome page displayed for Java application run in development mode.
Play Framework and Scala
Creating Scala application is similar. You just choose Scala when running play new.
[~]# play new play_scala

play 2.2.0 built with Scala 2.10.2 (running Java 1.6.0_45), http://www.playframework.com
The new application will be created in /home/user/play_scala
What is the application name? [play_scala]
>
Which template do you want to use for this new application?
 1 - Create a simple Scala application
 2 - Create a simple Java application
> 1
OK, application play_scala is created.
Have fun!

[~]# update_play_libjnotify.so.sh $HOME/play_scala
[~]# cd ~/play_scala
[~/play_scala]# play run
And you can now access http://username.jvmhost.net:10951/ to see Play in Scala welcome page. See screenshot below.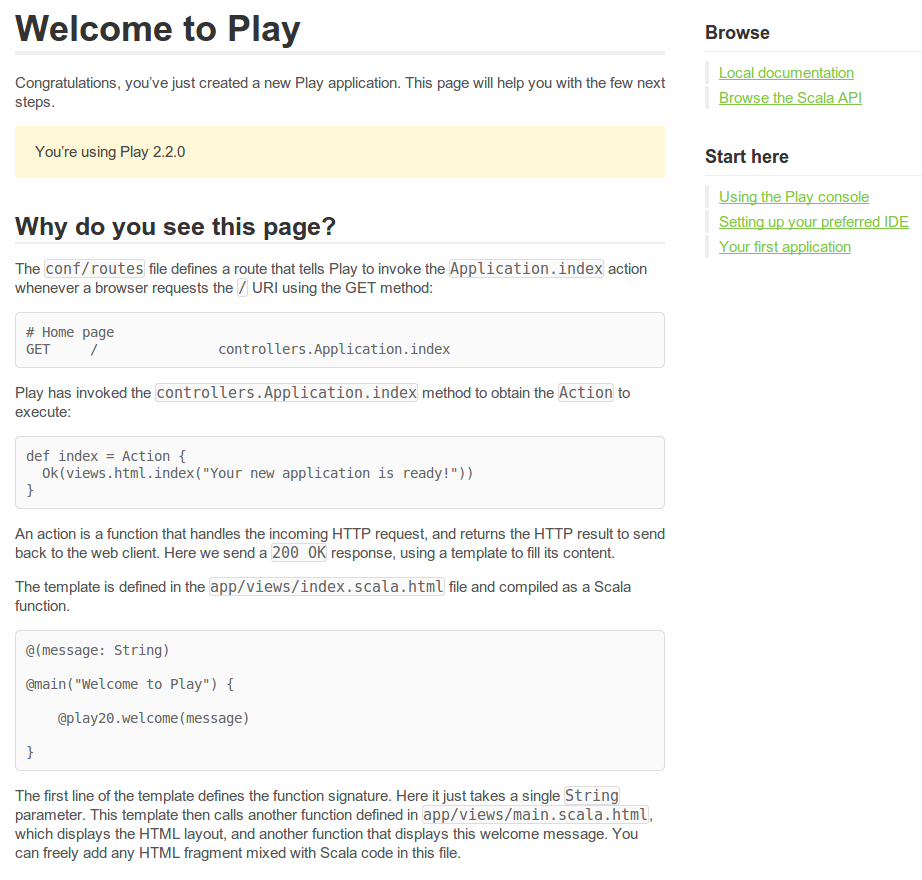
Access Play Framework application via HTTP and HTTPS ports
Specifying port in URL is not always what you want. To have your Netty work on HTTP port go to Java Control Panel and choose mod_proxy as your proxy method. Requests to your domain’s port 80 will then be internally proxied to Netty’s HTTP port (10951 in our example). You application will now be also reachable at http://username.jvmhost.net/
To use HTTPS on default port 443 you will need dedicated IP addon and a certificate installed in cPanel. Then you can go to Java Control Panel and in Mappings section clone your existing HTTP mappings to HTTPS. You can also set up SSL certificate directly in Netty and listen on your custom SSL port or on 443 (using your dedicated IP) but these methods are not so straightforward as the proxy one. If you need help with any of these setups we are here to support you. Java properties that can be used in play alias in .bashrc for HTTPS enabled application are -Dhttps.port=443 and -Dhttp.address=YOUR_DEDICATED_IP.
Ordering Play hosting package
Use Tomcat package for now and add Play in order comments if you want us to preset your environment. When ordering Play hosting from us all above will be automatically done and your alias will point to working playapp application via proxy. You can then rename or drop the app and create a new one with a few commands (jk will forcibly stop the Netty):
[~]# cd && jk
[~]# play new newplayapp
[~]# cd newplayapp
[~/newplayapp]# play run
and continue development.
Develop Play locally and only deploy new versions to remote host
The old Play 1.x play war command is not supported by Play 2.x. There is heavily tested play2-war plugin but it does not support version 2.2.0 as of October 2013. You may check if it does by the time you read this article.
Rebuilding libjnotify.so to match current system GLIBC version
This is a general procedure. You do not need to use it on our servers unless using a VPS or dedicated server product. Download jnotify (currently it is jnotify-lib-0.94.zip) from sourceforge. Unpack it and test.
cd && wget --content-disposition 'http://sourceforge.net/projects/jnotify/files/latest/download?source=files'
mkdir ~/jnotify && cd ~/jnotify
cp ~/jnotify-lib-0.94.zip . && unzip jnotify-lib-0.94.zip
mkdir src && cd src
unzip ../jnotify-native-linux-0.94-src.zip && cd Release
export C_INCLUDE_PATH=$JAVA_HOME/include/:$JAVA_HOME/include/linux
make
cp -f libjnotify.so [PATH_TO_PALY_APP]/target/native_libraries/64bits
# you can test jnotify with the below 2 commands
# java -Djava.library.path=. -jar jnotify-0.94.jar
# Monitoring /home/user/jnotify/src/Release, ctrl+c to stop
cd && rm -rf ~/jnotify
Replace [PATH_TO_PLAY_APP] with full path to your Play app directory.
References:
Play Java Primer
Play Scala Primer